Beverage Station Setup That Keeps Guests Moving
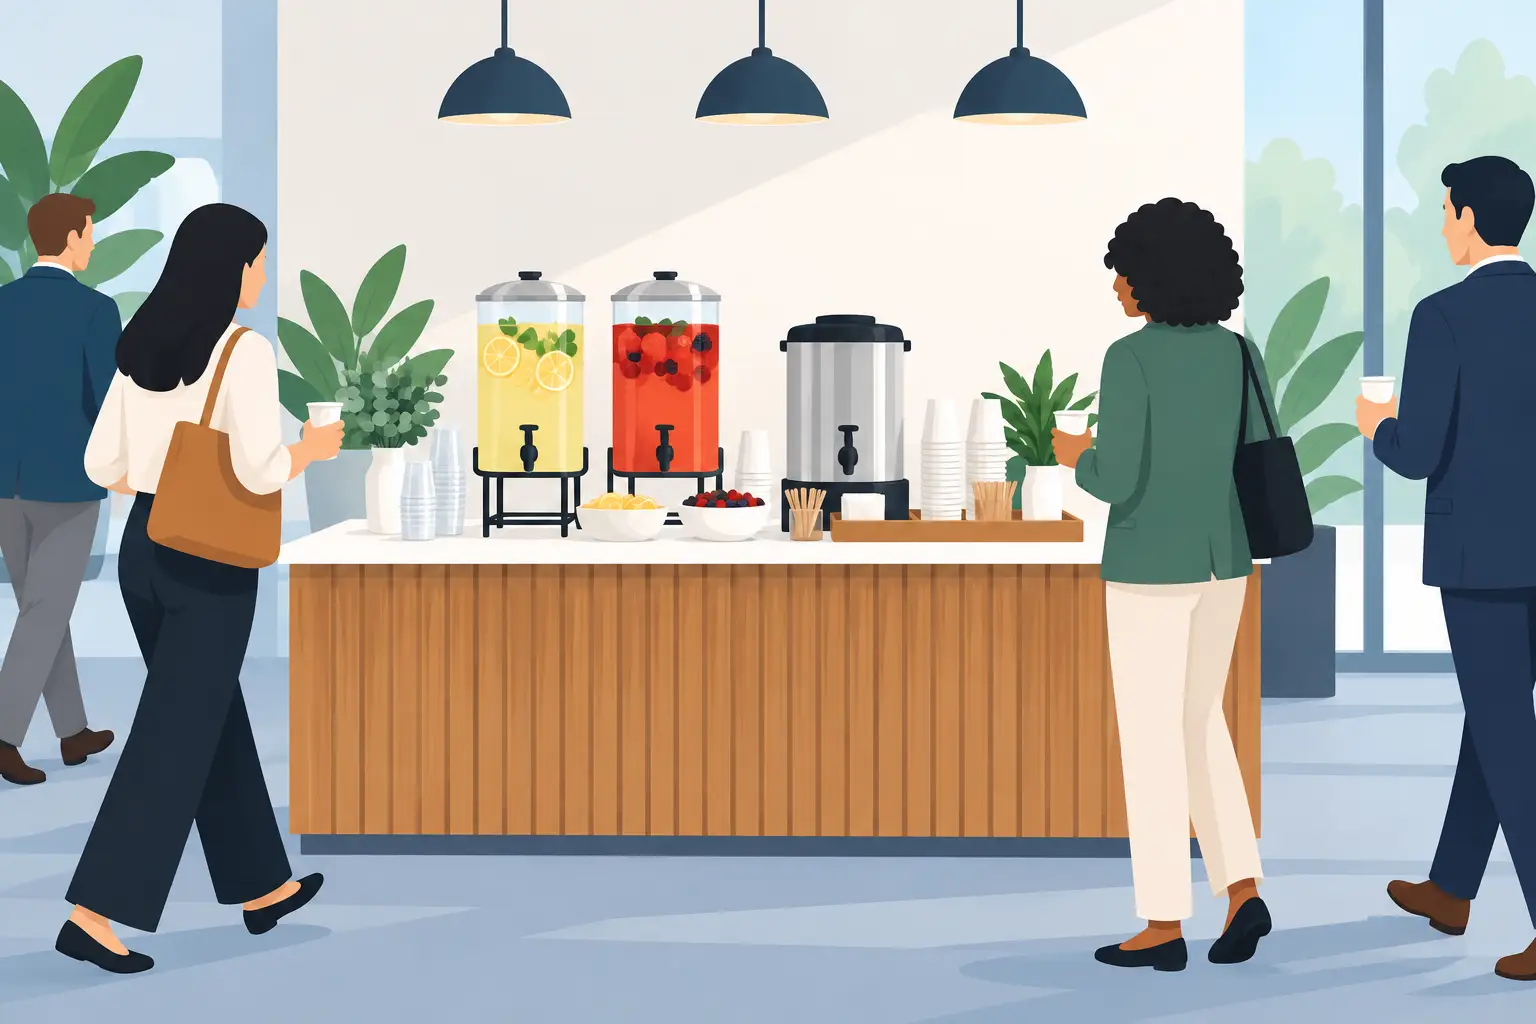
A beverage station setup can make guests feel cared for or create an avoidable bottleneck five minutes after the event begins. The difference usually is not the drink menu. It is the placement of the table, the amount of ice, the right mix of glassware and dispensers, and a layout that lets people serve themselves without blocking the room.
For a Central Florida wedding, backyard birthday, church luncheon, or business gathering, plan the beverage area as a working service zone. It needs enough room for guests to approach, pour, add ice, discard used cups, and step away. When those details are handled before delivery day, hosts and event teams can spend more time with their guests and less time searching for another ice bin.
Start Your Beverage Station Setup With Guest Flow
Before choosing containers or beverages, decide where the station belongs. A drink table should be easy to find but should not sit at the only doorway, the entrance to a buffet line, or the path between seating and restrooms. Guests tend to visit beverage areas repeatedly, especially at outdoor events in New Smyrna Beach, Port Orange, and Daytona Beach. A cramped location becomes congested quickly.
For a small gathering, one station near the food area may be enough. For a larger reception, two stations on opposite sides of the room or tent often work better than one oversized table. This shortens lines and keeps people from crossing the entire event space every time they need water or a refill.
Consider what happens after guests get their drinks. They need a place to step aside, add a garnish, pick up a napkin, or talk without stopping the next person in line. Leave open space at the end of the table and avoid pushing the station into a tight corner.
Separate Water From Specialty Drinks
Water is the highest-demand beverage at many Florida events, so it deserves its own clear location. Put water dispensers at the start or end of the station, with cups immediately beside them. If guests must reach across coffee supplies, cocktail mixers, or a decorative display just to get water, the table will feel crowded.
Specialty drinks can sit in the center, where their presentation gets attention without interfering with the basics. Coffee and hot tea are usually best on a separate table, particularly when there are multiple creamers, sweeteners, stirrers, and hot-water equipment involved.
Choose Equipment Based on Service Style
The right beverage equipment depends on whether guests are serving themselves, being served by staff, or using a bar. A casual open-house event may only need beverage dispensers, ice tubs, cups, and a properly sized table. A formal dinner with wine service requires a different plan, including glassware, barware, and a safe area for collecting used glasses.
Dispensers work well for water, tea, lemonade, punch, and batch mocktails. Use separate dispensers for each drink rather than asking guests to identify unlabeled containers. Clear labels are especially helpful when serving sweet tea and unsweetened tea, flavored water, or drinks that may contain common allergens.
For canned or bottled beverages, use beverage tubs or coolers with plenty of ice. Avoid filling every available inch with bottles. Guests need room to see what is offered and remove a drink without knocking others over. Keep backup cases and extra ice out of sight but close enough for quick refills.
Glassware creates a polished look for weddings, dinners, and corporate events, but it also requires collection bins and a clear plan for bussing. Disposable cups are often more practical for outdoor celebrations, youth events, and high-volume gatherings. There is no single right answer. The best choice balances the event style, budget, venue requirements, guest count, and available staff.
Build the Table in the Order Guests Use It
A well-organized beverage station follows a simple sequence. Guests should first see the drink options, then pick up a cup or glass, add ice if needed, and finish with napkins, lids, straws, or garnishes. Depending on the layout, cups can also go first, followed by ice and beverages. The key is to keep the pattern obvious.
Do not make guests reach over an ice bucket to grab a cup, or place napkins where they will get splashed every time someone fills a glass. Keep stirrers, sugar packets, lemons, and other small items grouped in containers so they do not spread across the table during service.
A practical station usually includes these essentials:
- A sturdy table with enough surface area for drinks, supplies, and refills
- Beverage dispensers, coolers, or tubs suited to the menu
- Cups or glassware, plus backup stock stored below or behind the station
- Ice, scoops or tongs, and a separate container for melting ice or spills
- Napkins, straws, lids, labels, and a nearby trash can or bus tub
For a more polished event, add linens that match the room, simple risers to create height, and a small sign identifying each beverage. Decor should support the setup, not cover it. Tall arrangements, loose florals, and too many props can make refilling harder and reduce the usable service area.
Plan for Ice and Refills Early
Ice is one of the easiest details to underestimate. It is needed for drink tubs, individual cups, and sometimes for chilling wine or bottled water. Outdoor heat, direct sun, and a long event can increase consumption fast. Keep an extra supply accessible, and assign a person to check the level throughout the event if guests are expected to serve themselves.
Refills matter just as much. A beautiful dispenser that runs empty halfway through cocktail hour does not help the guest experience. Prepare extra tea, lemonade, water, coffee, cups, and napkins before the event begins. Store backup supplies in labeled boxes or under the service table so the person handling refills does not have to leave the area.
Match the Setup to the Event Environment
An indoor station benefits from nearby access to water, power, and a cleanup area. Outdoor stations need more protection. Place them under a tent, canopy, or covered patio when possible, especially if serving ice, dairy for coffee, or beverages that should stay cold. Shade also makes the station more comfortable for guests waiting in line.
Use stable tables on level ground. Grass, pavers, and uneven backyard surfaces can affect beverage dispensers, glassware, and ice tubs. If the event includes a tent, position the beverage area so it does not compete with the buffet, DJ, dance floor, or ceremony traffic.
For evening events, make sure the station is adequately lit. Guests should be able to read labels, see steps, and safely handle glassware after sunset. Simple event lighting can make the area easier to use while also helping it feel intentional.
Do Not Forget the Cleanup Path
A beverage station is only half planned if there is nowhere for empty cups, used napkins, and dirty glassware to go. Put a trash can near the exit side of the table, not directly in the serving path. For glassware service, place discreet bus tubs or collection trays nearby and have a plan for staff or volunteers to clear them regularly.
Spills are normal, particularly around ice and self-serve dispensers. Keep towels or absorbent cloths available, and make sure electrical cords for coffee makers or other equipment stay away from wet areas. A small amount of preparation prevents a slick floor and a bigger interruption later.
If your beverage service is part of a larger event plan, coordinate it with catering, bar service, seating, and delivery timing. Paradise Event Rentals can help bring the practical pieces together, from tables and linens to glassware, bars, and event infrastructure, so the station fits the rest of the setup.
The best beverage station does not need to be complicated. It simply gives guests what they need before they have to ask, leaves room for the crowd to move, and stays ready for the next refill.